Storage Manager
Storage Manager helps you catalog and track items across multiple locations. Organize your inventory into custom locations and categories, giving you complete visibility of what you have and where it's stored.
Whether you manage warehouses, retail stores, or multiple storage facilities, Storage Manager keeps everything organized in one place. No more guessing or manual tracking—access your inventory information anytime, anywhere.
Key benefits:
Track items across unlimited locations
Organize inventory with custom categories
Monitor stock levels in real-time
Access your data from any device
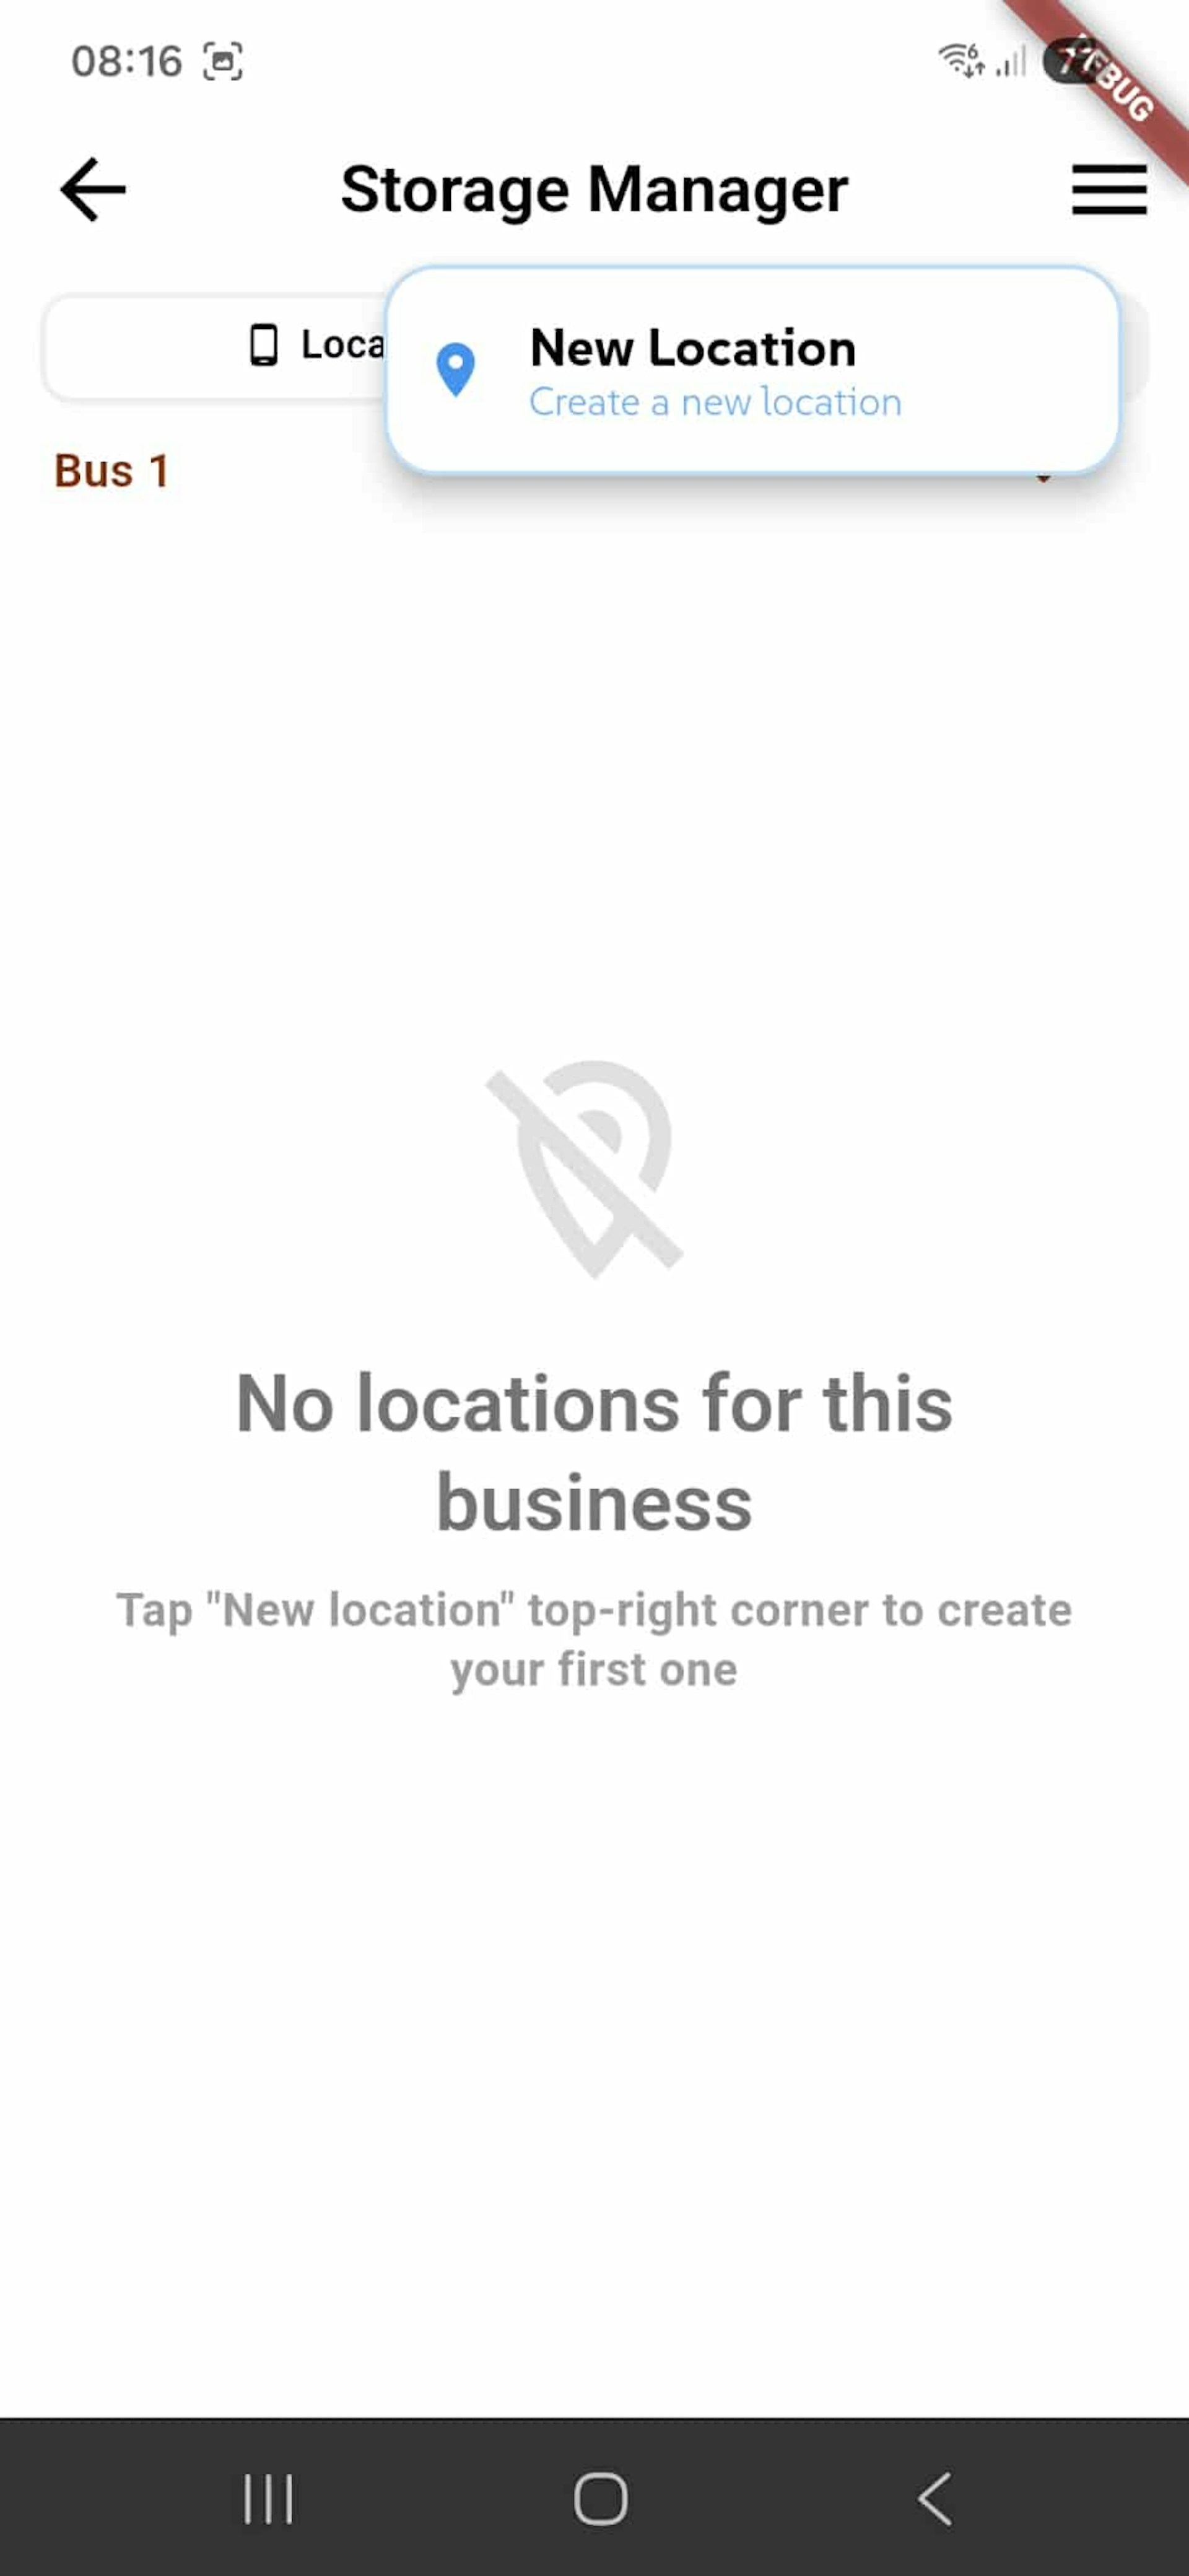
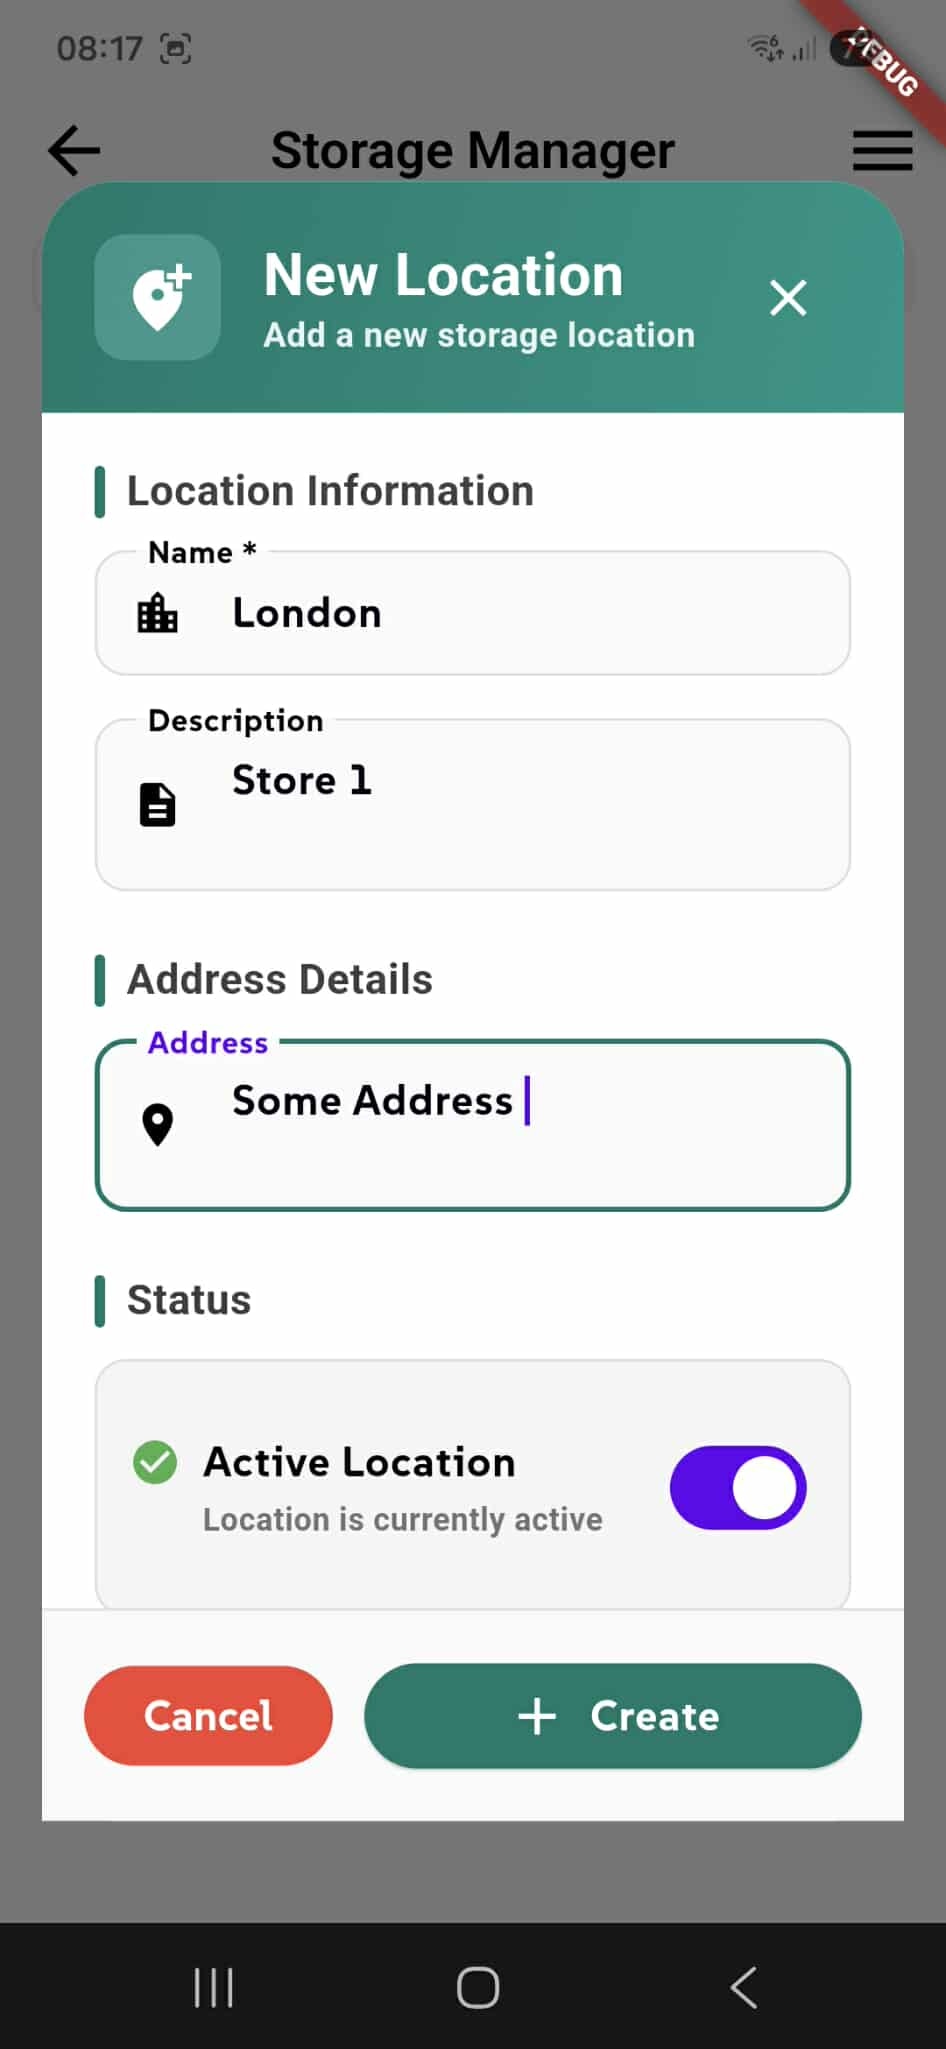
Creating a new location
Creating a new location requires a name; other fields are optional. Deleting a location will permanently remove all categories in that location and every storage item contained in those categories.
Viewing and Managing Your Storage Locations
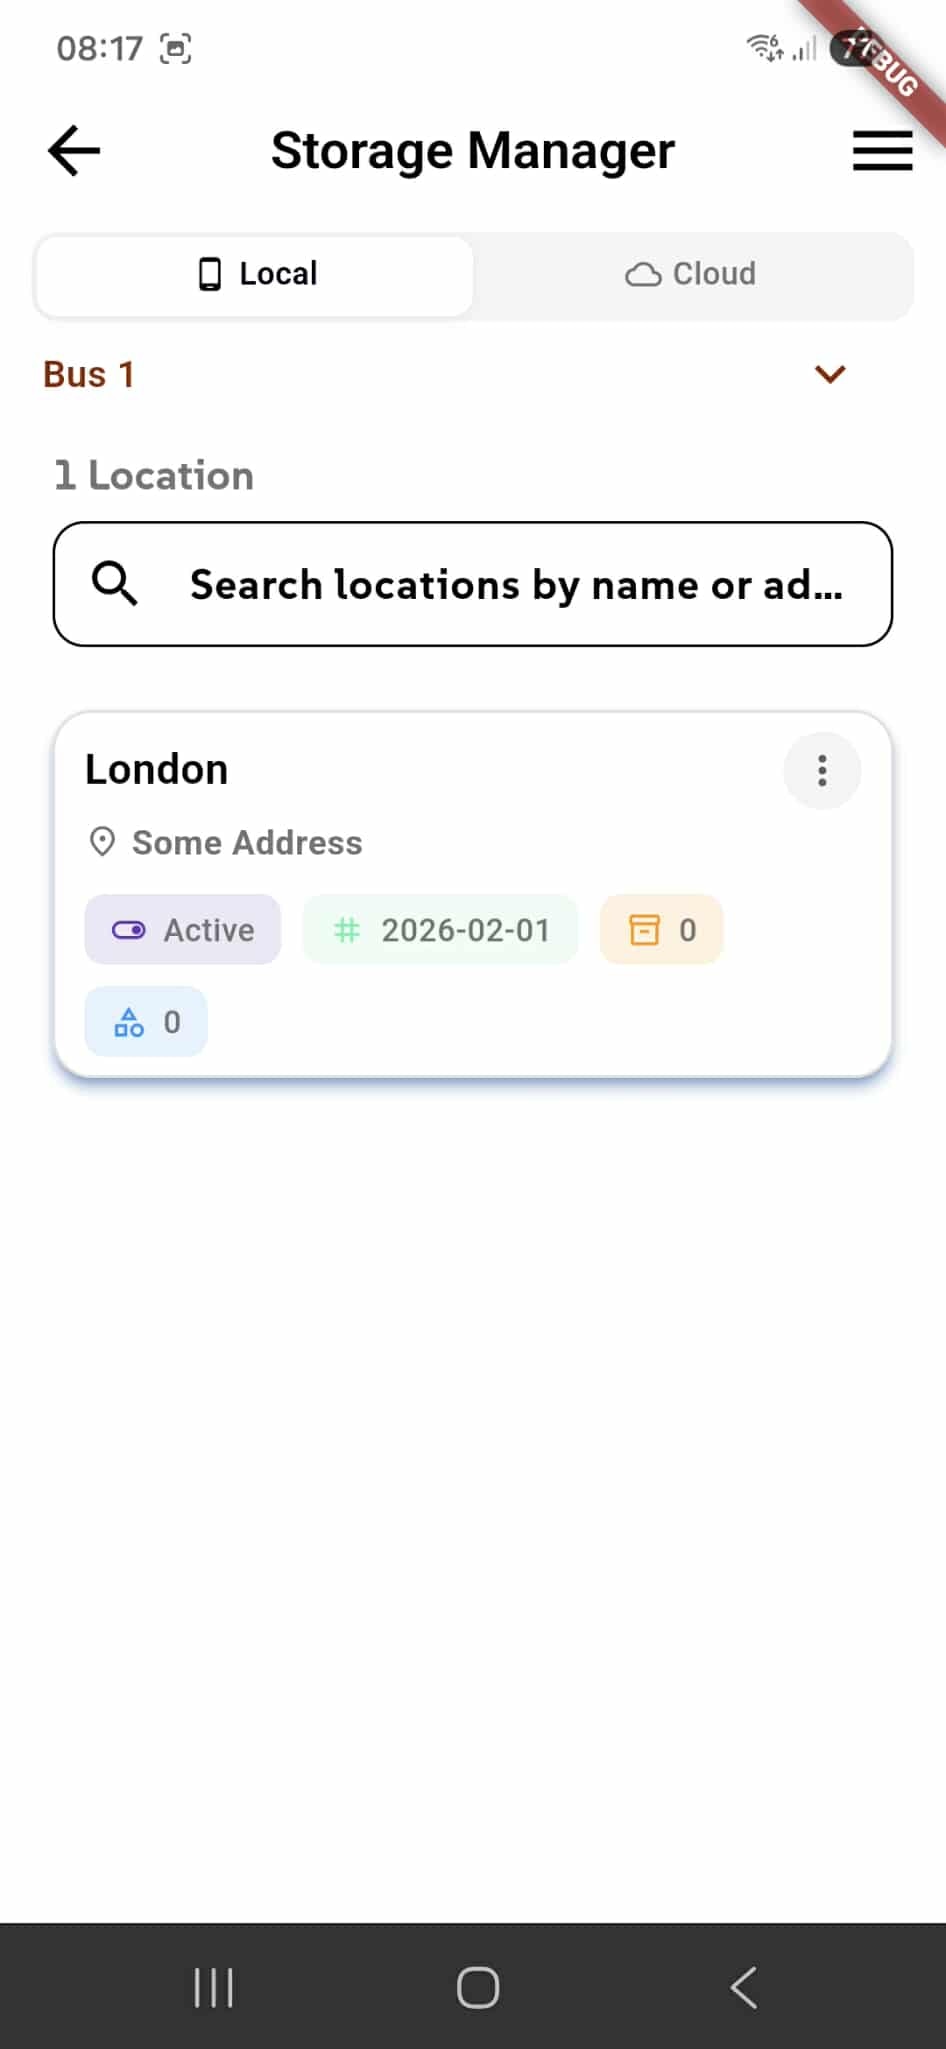
The Storage Manager displays all your locations in one centralized view. Each location contains categories and items organized across your warehouses, stores, or facilities.
Search & View Locations
Use the search bar to find locations by name or address. Each location card shows the name, address, status (active/inactive), creation date, and total item count.
Access Categories
Click any location card to view and manage its categories and items. You can also switch between Local (device storage) and Cloud (Supabase synced) storage tabs at the top.
Organizing Storage with Categories
Categories help you segregate and organize storage items within a location. A category is a custom container where you group related items by type, purpose, or classification system (e.g., "Electronics," "Furniture," "Raw Materials").
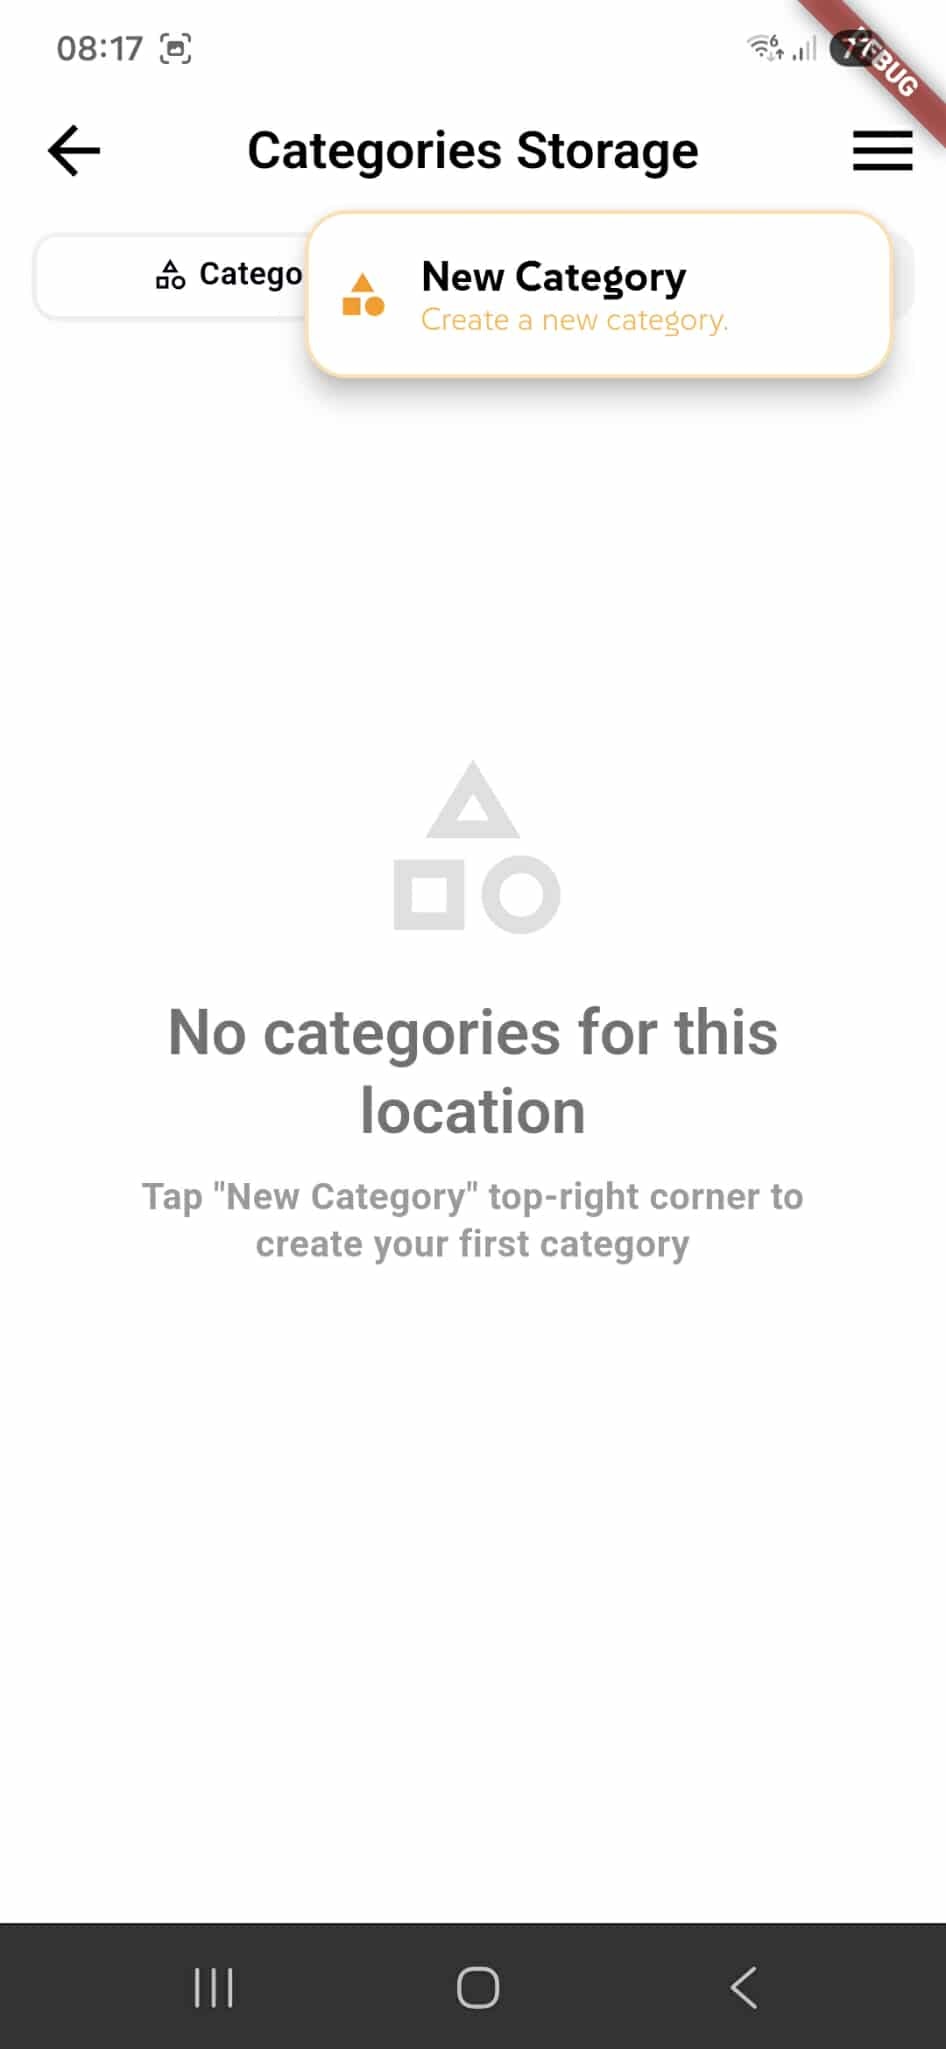
Create Categories
Tap the "New Category" button in the top-right corner to create a new category. A form will appear where you can set a name and details. Once created, you can start adding items to it. Create as many categories as needed for each location to keep your inventory organized and easy to find.
Creating a New Category
When you tap "New Category", a modal appears where you configure your category details.
Category Information
Enter a name for your category (required). Optionally add a description for additional context about items in this category.
Tracking Settings
Choose how to track items: Quantity (by count), Serialized (unique serial numbers), Batch (by batch numbers), or None (no tracking). Click Create to save or Cancel to discard.

Managing Category Fields and Attributes
Each category has custom fields that define what attributes storage items must have when created or moved to that category.
Custom Fields
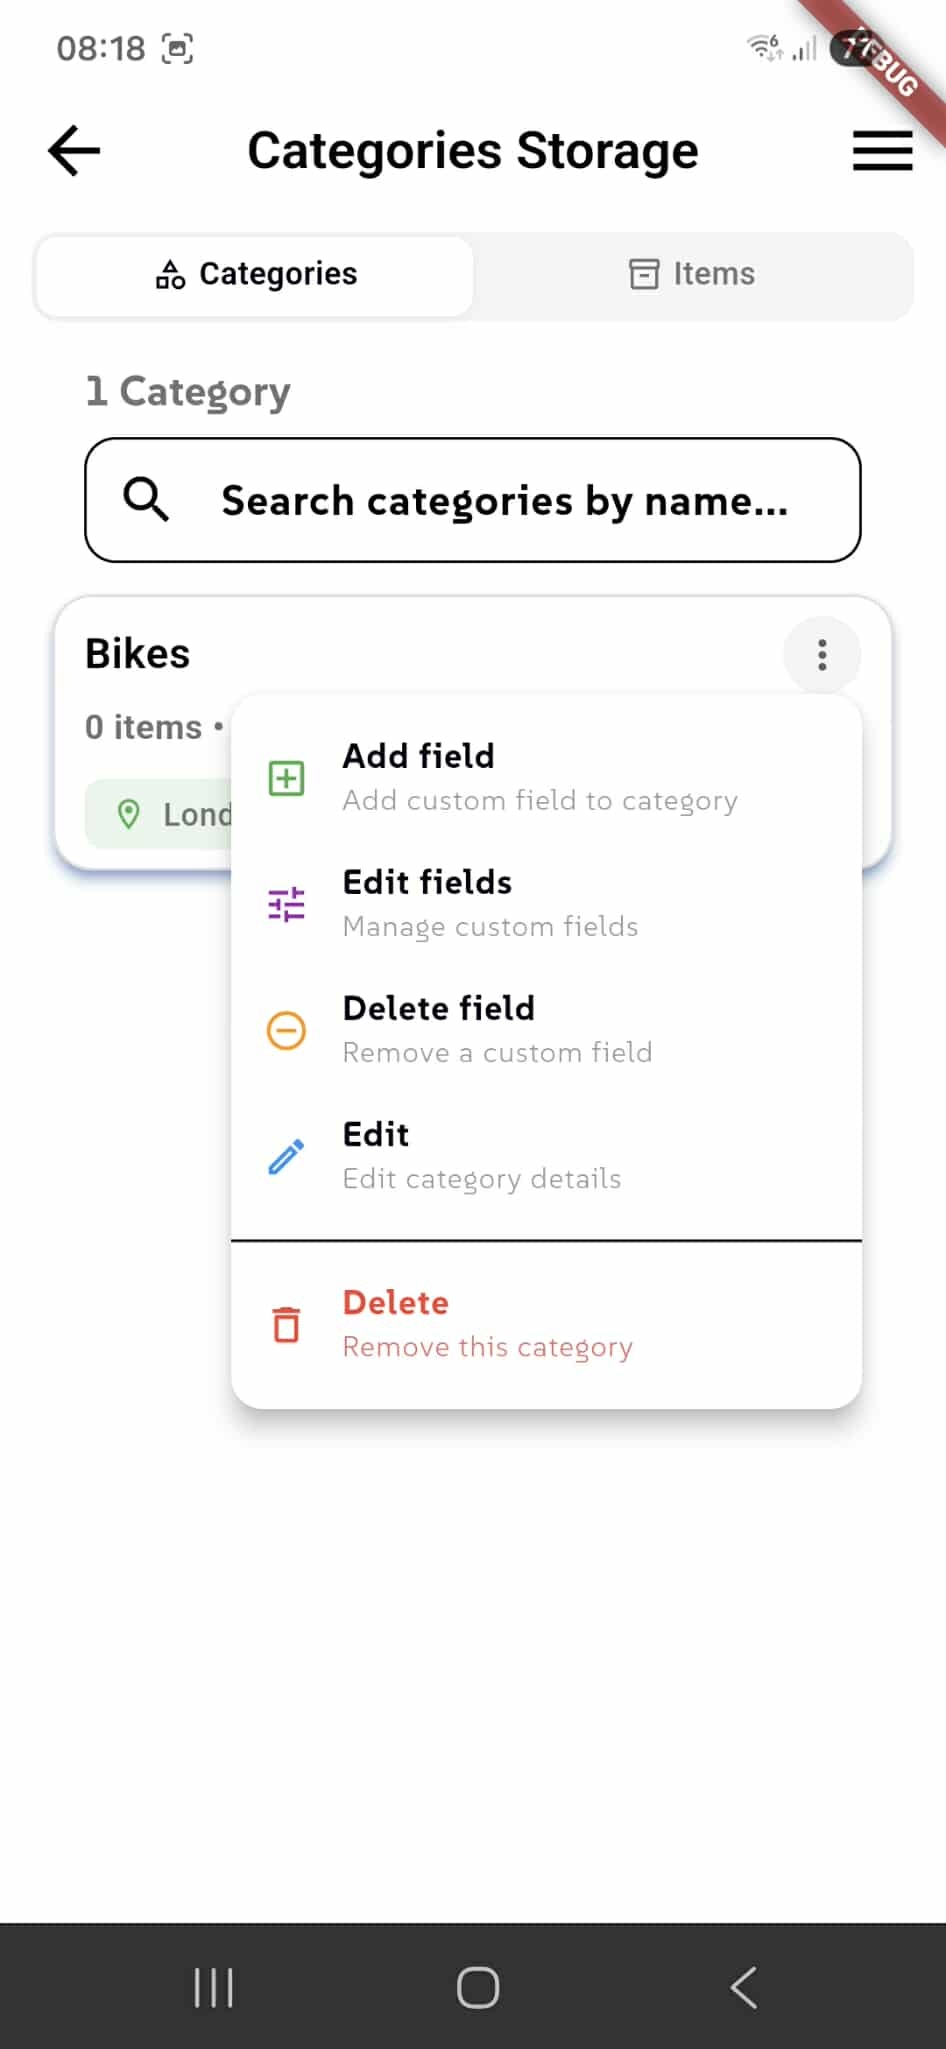
Click the menu icon on a category to access options. Use Add field to create custom attributes (e.g., "Color," "Size," "Expiration Date"). Use Edit fields to modify existing fields. Use Edit to change category details or Delete to remove the category. Warning: Deleting a category removes all items within it.
Adding Custom Fields to Categories
Custom fields define what information items in a category must include. When you tap Add field, a modal appears to configure a new attribute.
Field Configuration
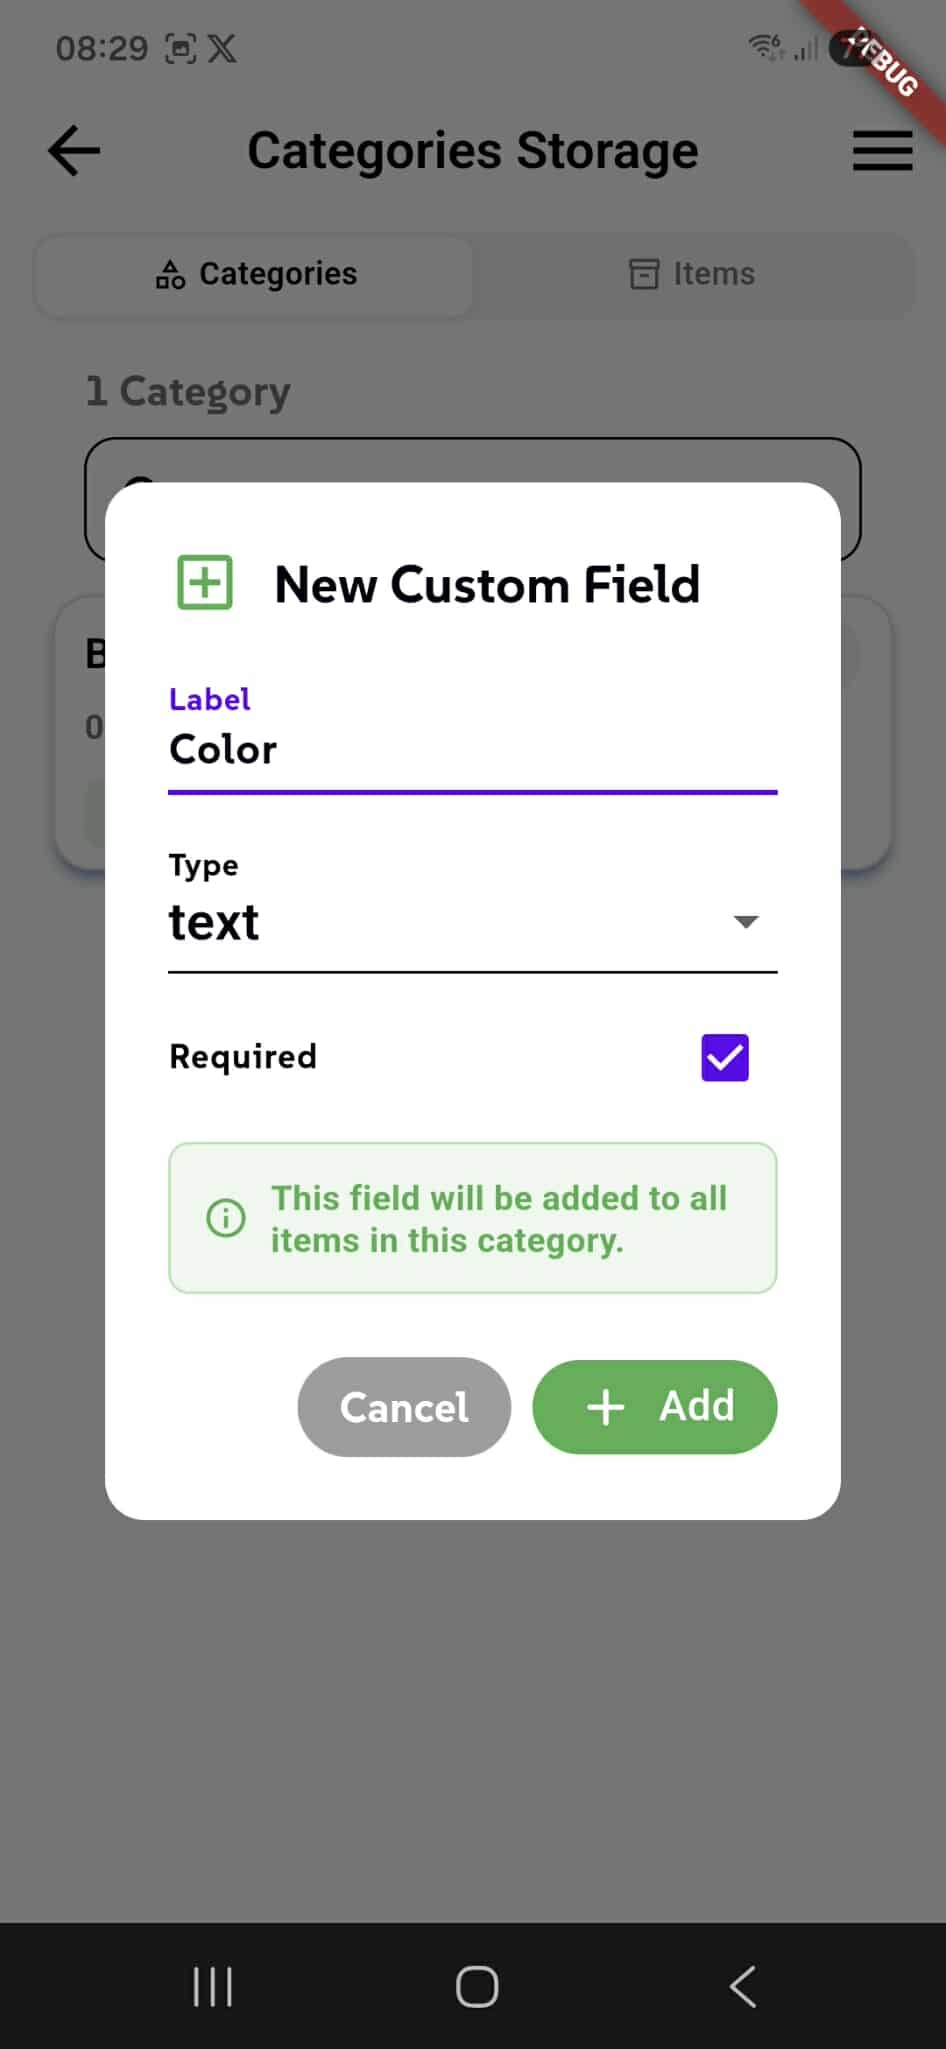
Enter a Label for the field (e.g., "Color," "Size," "SKU"). Choose a Type from the dropdown (text, number, date, dropdown, etc.). Toggle Required to make this field mandatory for all items in the category. The green info message confirms that this field will be added to all items in the category.
Managing Items in a Category
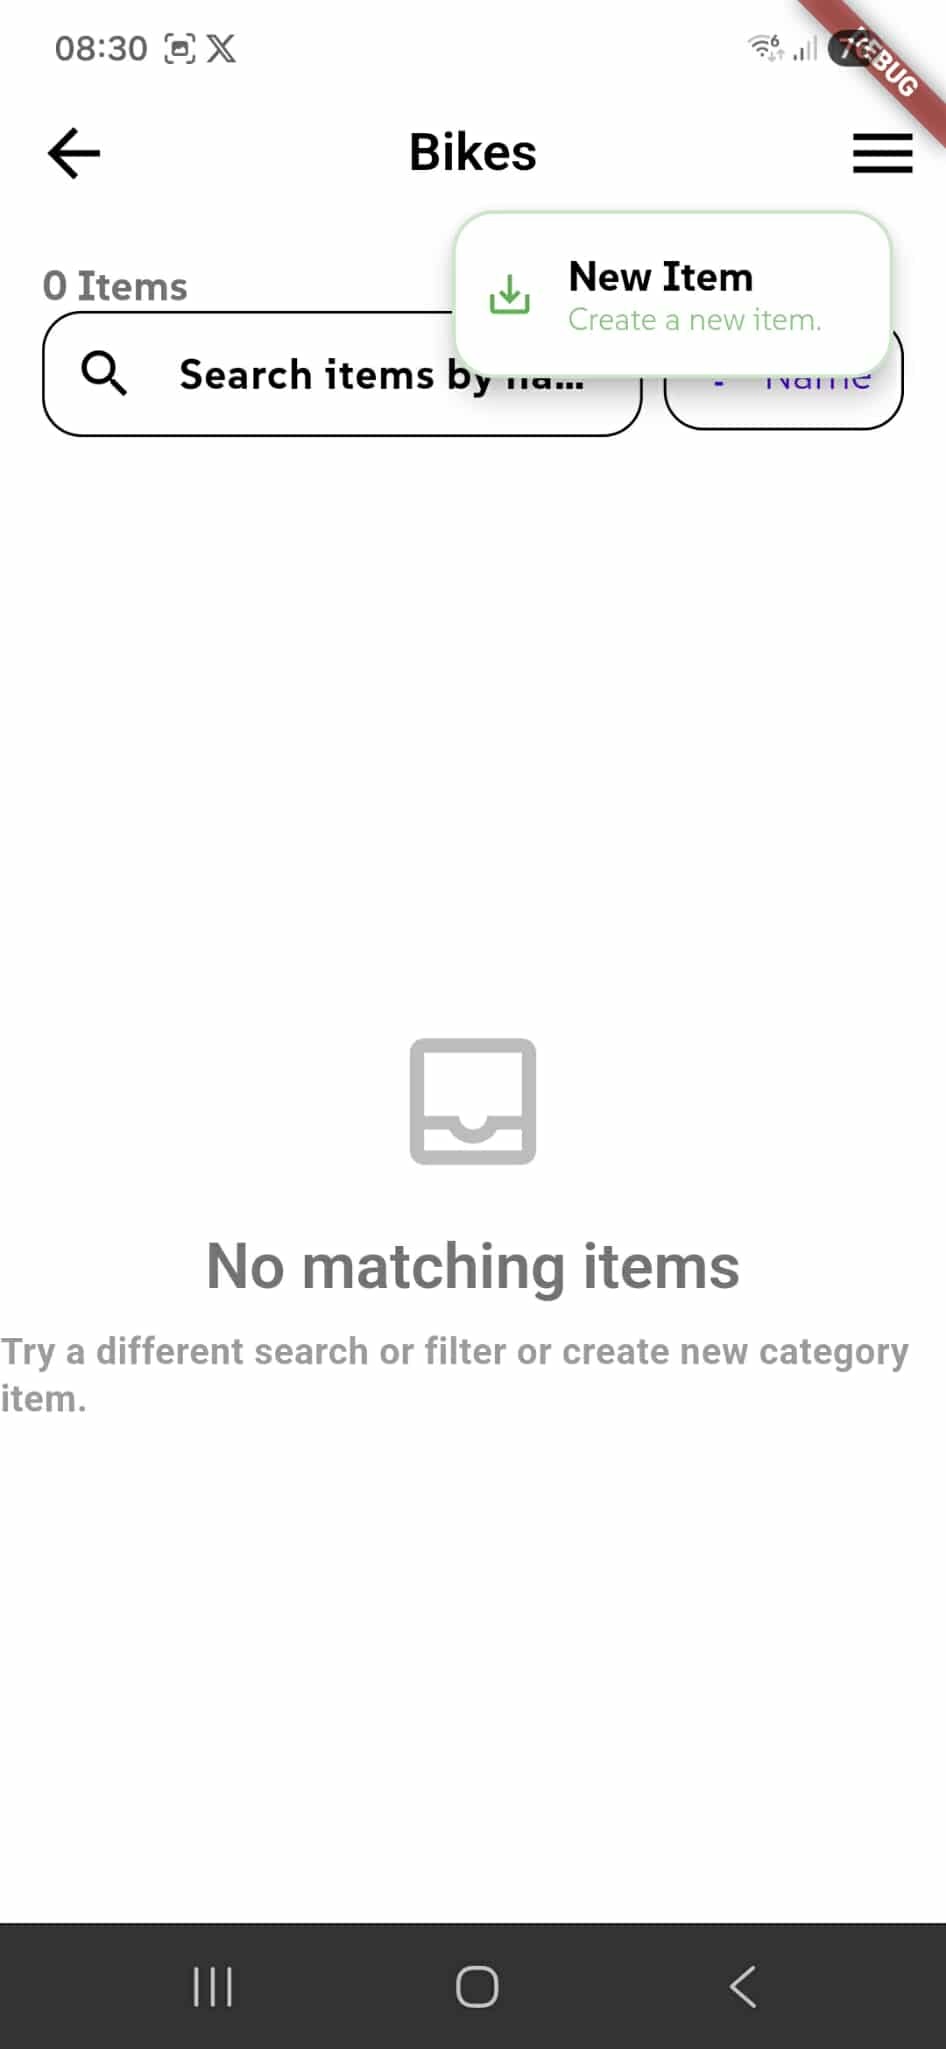
When you open a category (e.g., "Bikes"), you see all items stored in that category. This is where you create, search, and organize individual storage items.
Create Items
Tap New Item to create a new item in this category. You'll be prompted to fill in the item details, including any custom fields defined for this category. Once created, the item appears in the category list.
Search Items
Use the search bar to find items by name or other attributes. This helps you quickly locate specific items within the category, especially when you have many items stored.
Creating a New Storage Item
When you create a new item, you fill in details about what you're storing. Some fields are required, while others are optional.
Location & Category
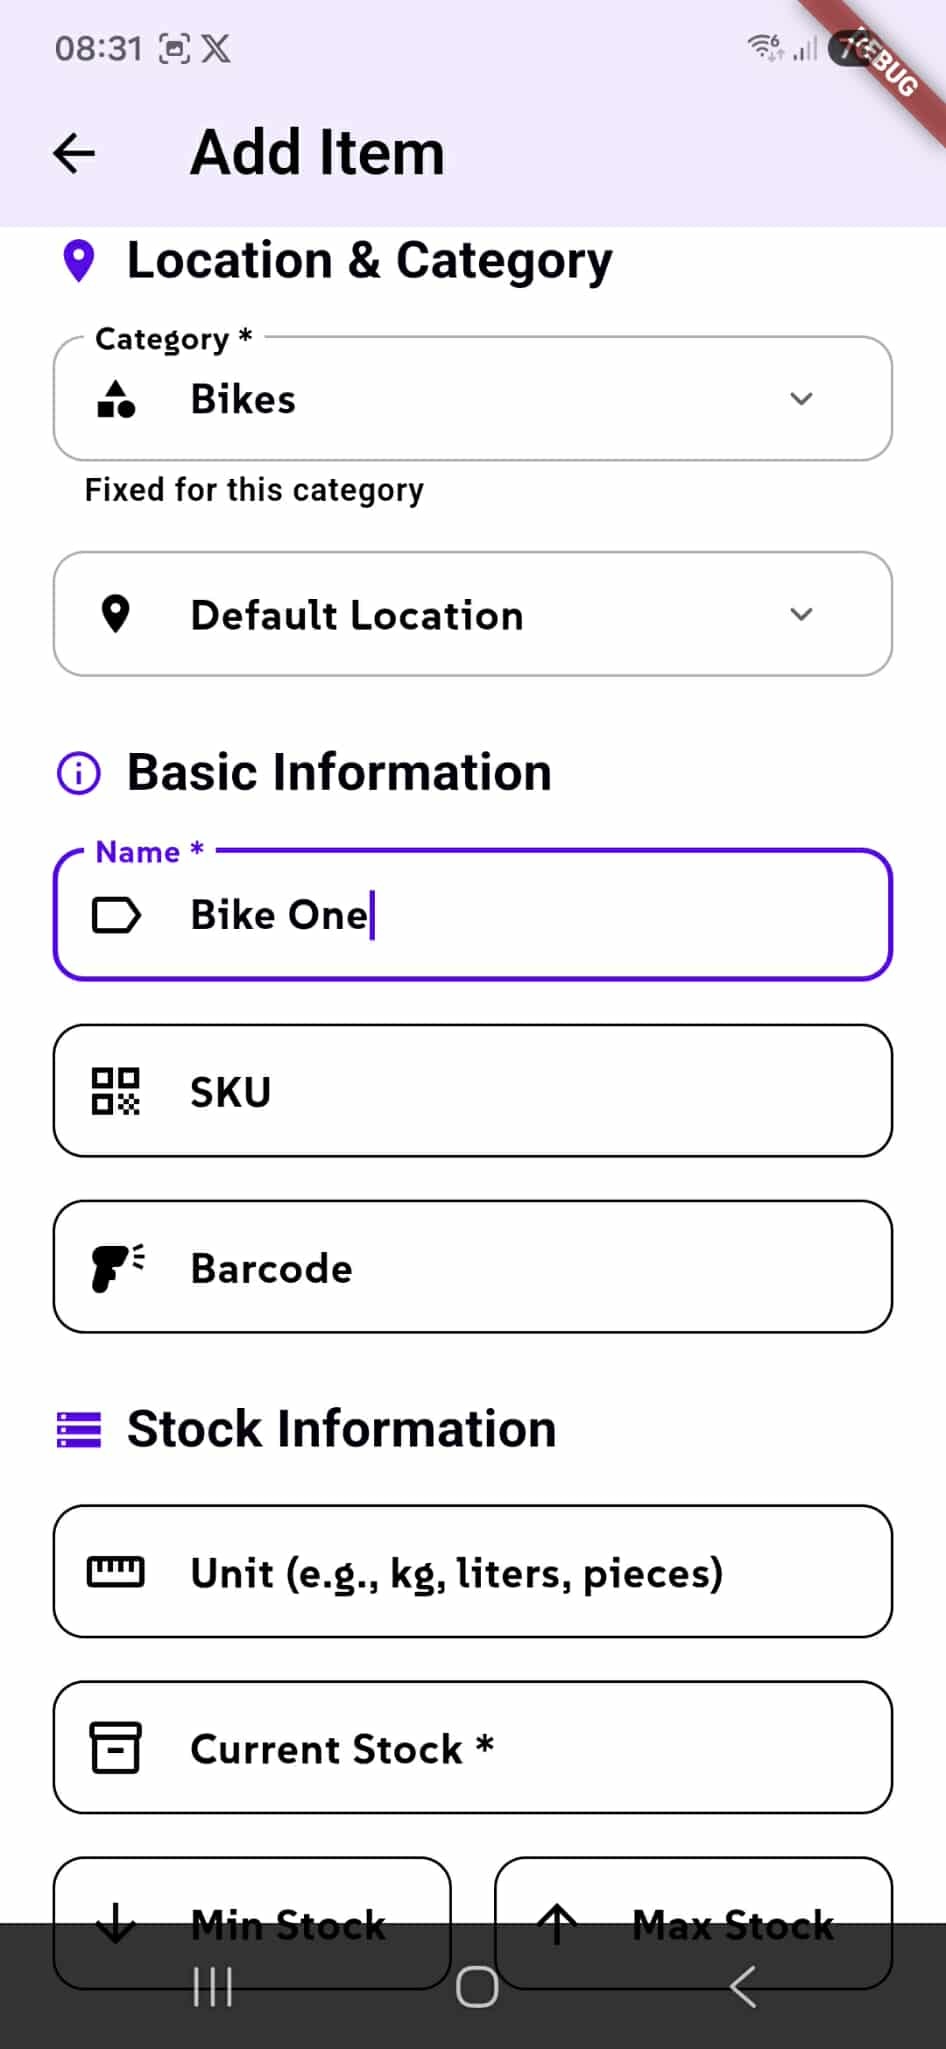
The Category is pre-selected based on which category you're adding the item to (e.g., "Bikes"). The Default Location is automatically assigned but can be changed if needed.
Basic Information
Enter the item Name (required, e.g., "Bike One"). Optionally add a SKU for inventory tracking and a Barcode for quick identification.
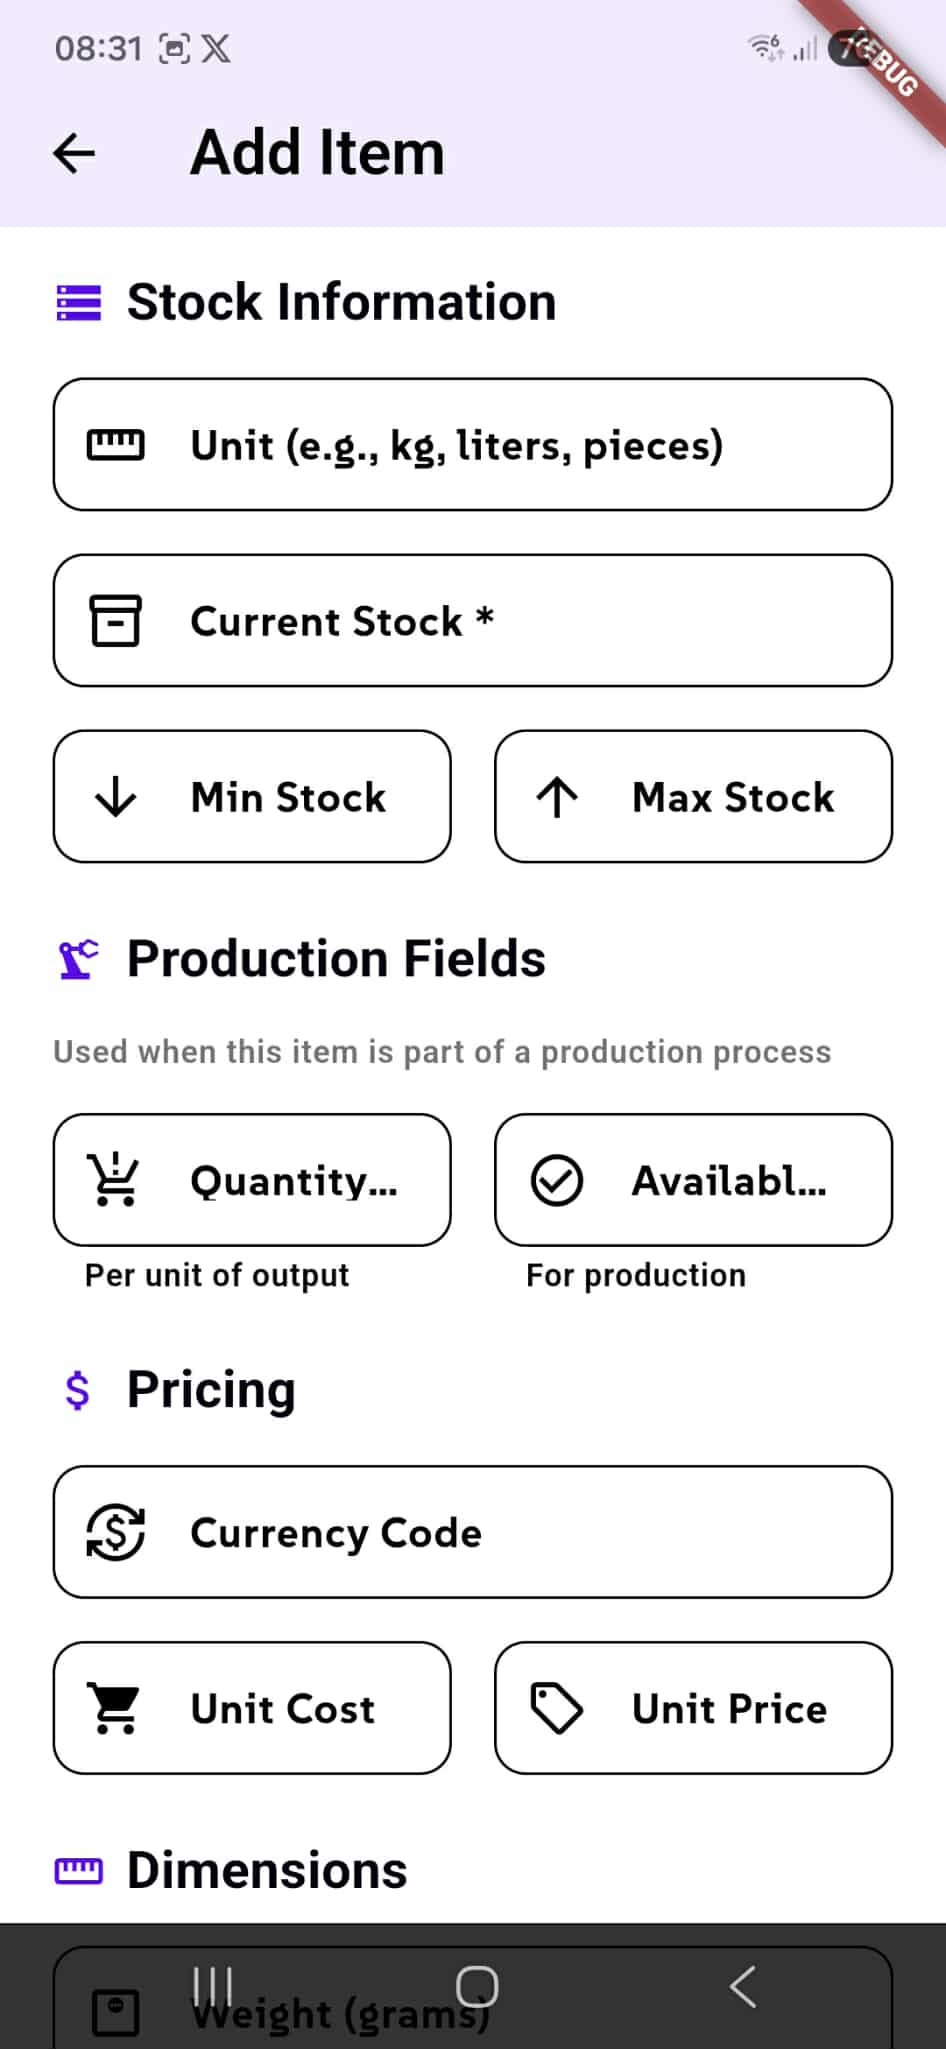
Stock Information
Enter the Current Stock (required) — the quantity you have right now. Specify the Unit (e.g., kg, liters, pieces). Optionally set Min Stock and Max Stock thresholds to track when you need to reorder. Additional custom fields defined for the category appear below these standard fields.
Additional Item Fields
All optional fields help track detailed information based on your business needs.
Stock & Production
Set Min Stock and Max Stock thresholds for alerts. For production items, enter Quantity per unit of output and Available for production to manage material consumption and reservations.
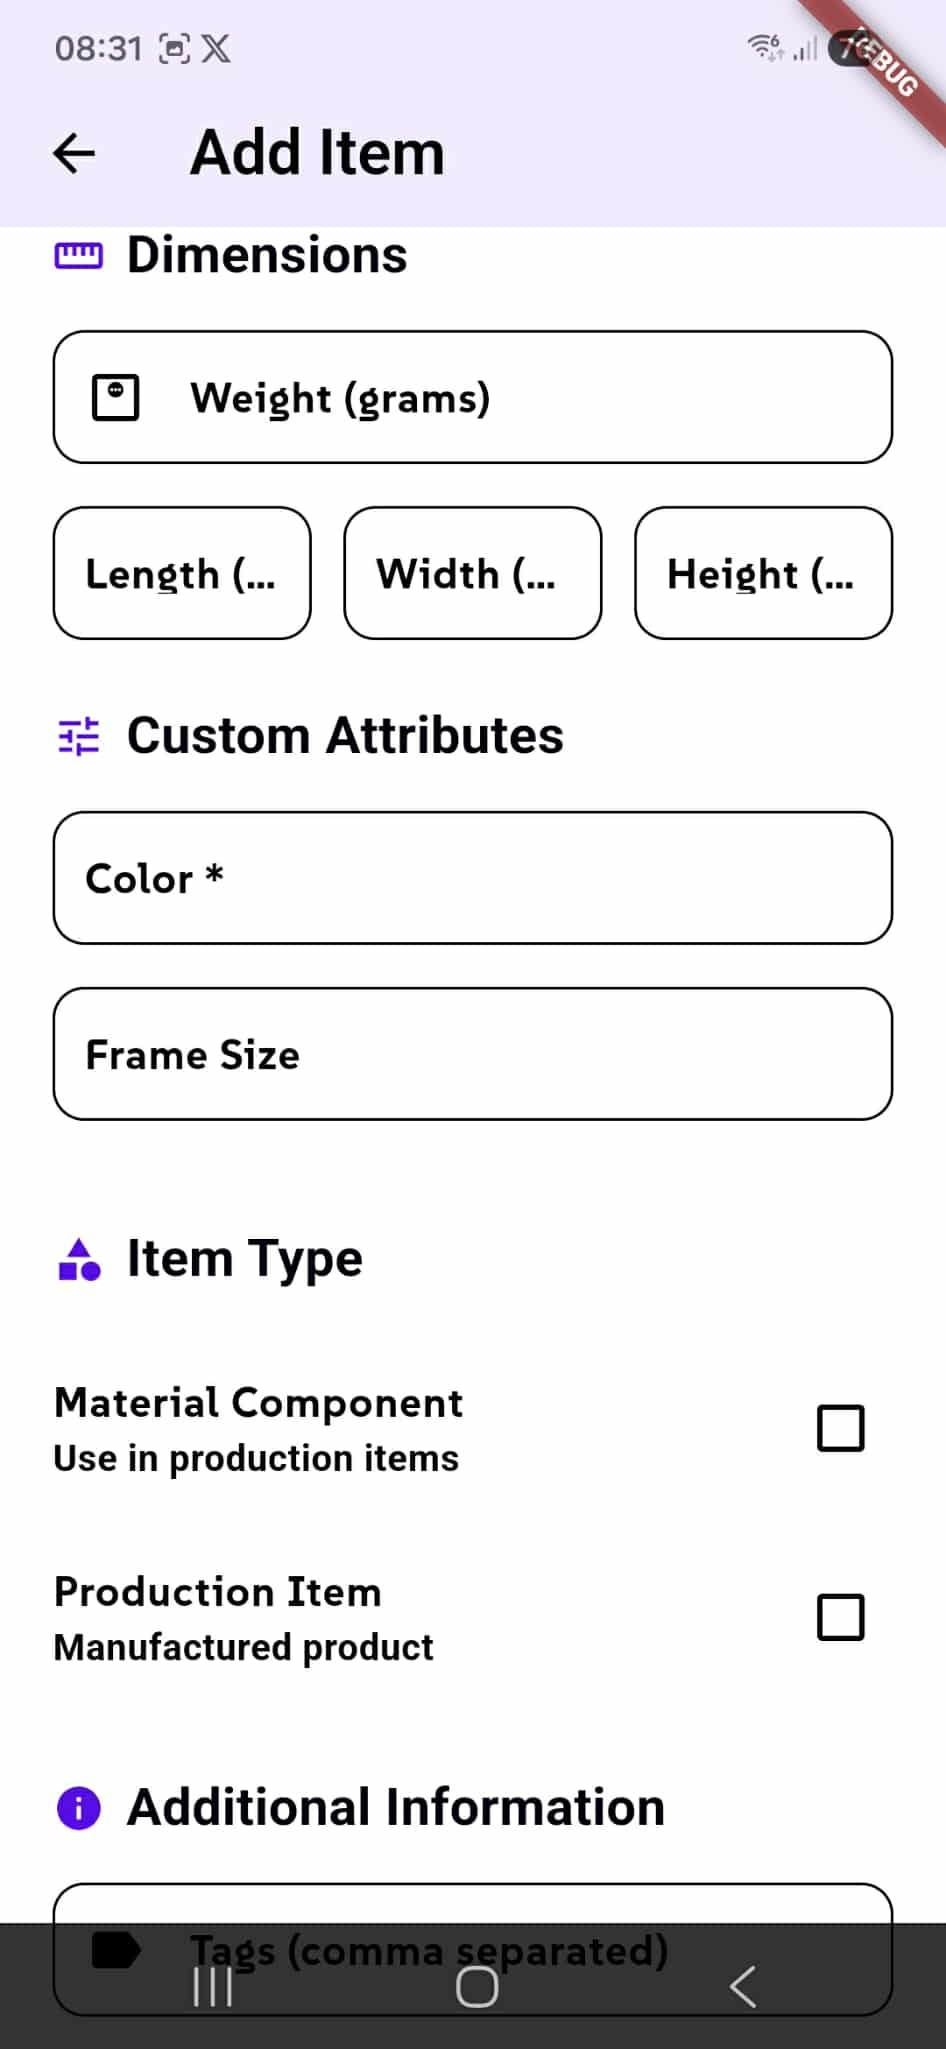
Pricing & Dimensions
Set Currency Code, Unit Cost (what you paid), and Unit Price (what you sell for). Add Weight and other dimensions for storage and logistics tracking.
Custom Attributes and Item Classification
Custom Attributes
Custom Attributes are fields specific to the category. In this example, the Bikes category has Color and Frame Size fields that were defined when the category was created. Fill these fields with item-specific information required by the category.
Item Type
Use Item Type to classify how this item is used in production. Toggle Material Component if this item is a raw material used in production. Toggle Production Item if this is a manufactured product. These classifications help track items through your production workflow and manage material consumption vs. finished goods.
Additional Information
Extra fields like notes, tags, or other details can be added at the bottom of the form to provide context about the item.
Managing Storage Items
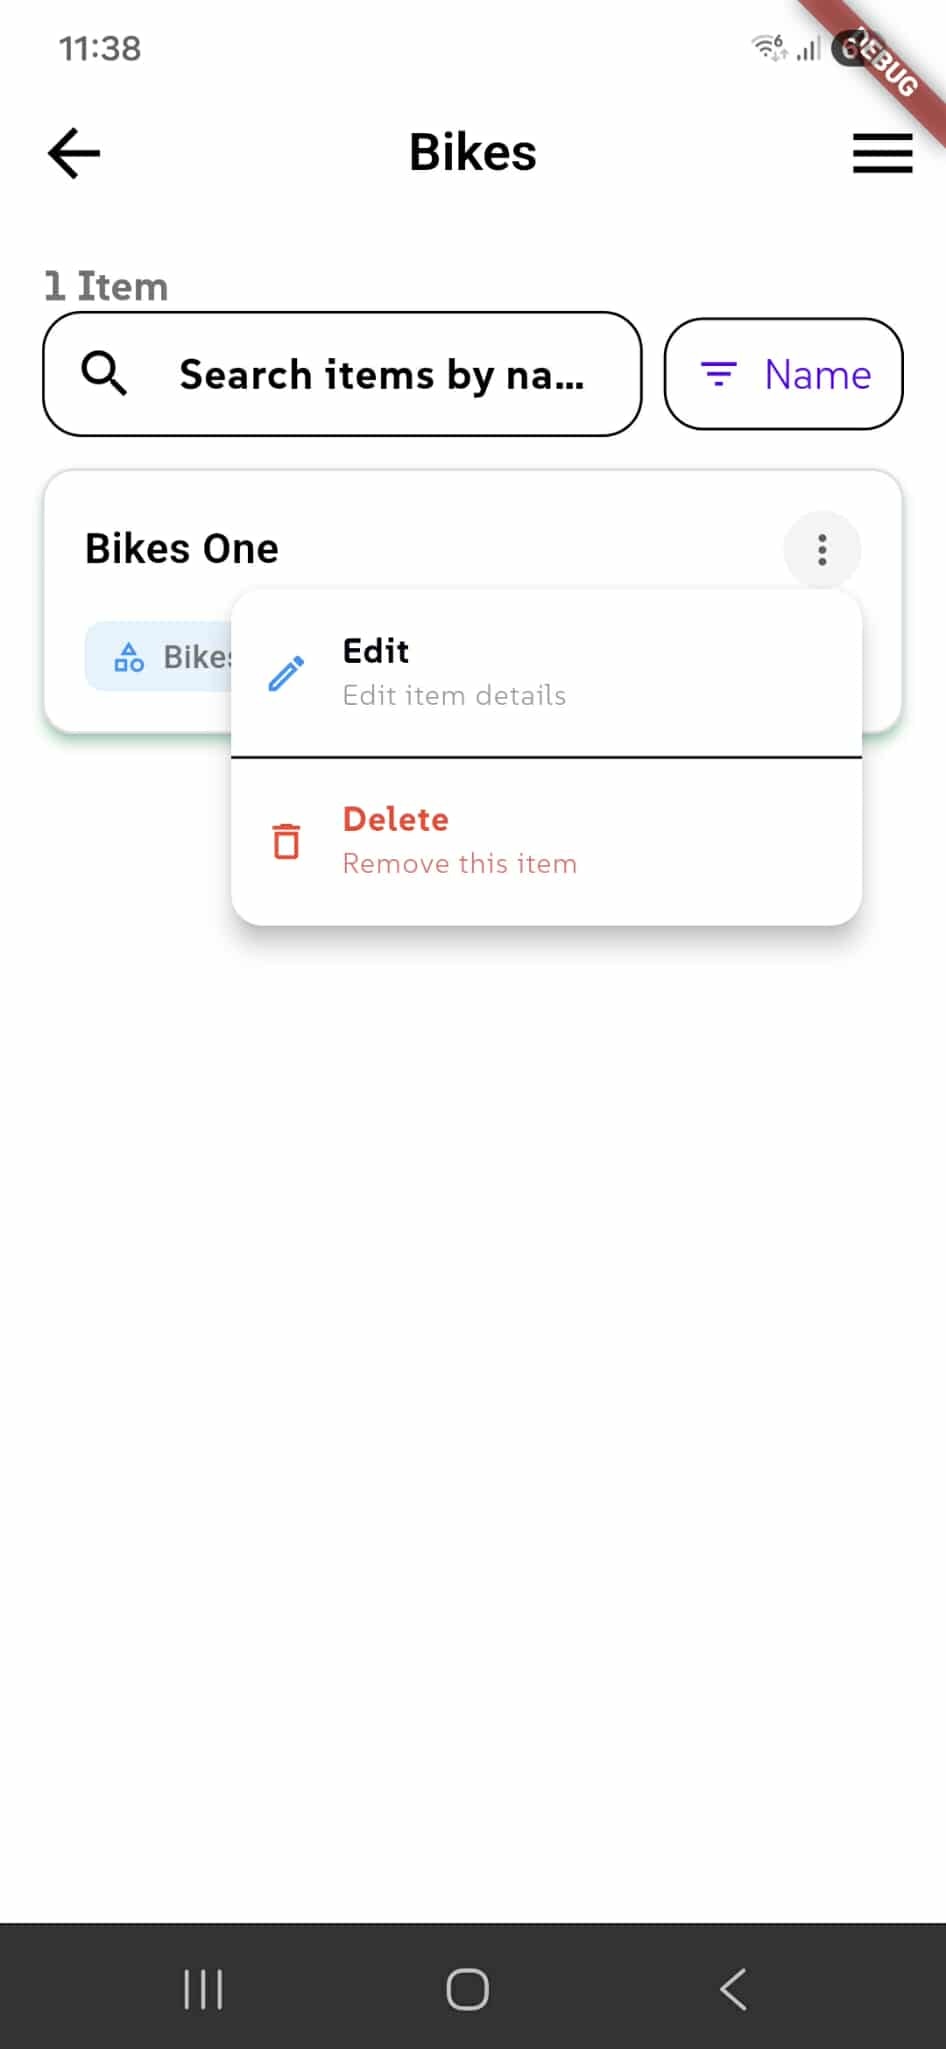
Each item in a category can be edited or deleted at any time using the menu options.
Edit Item
Click the menu icon on any item card and select Edit to modify item details. Update the name, quantity, pricing, custom attributes, or any other information. Changes are saved immediately and reflect across your inventory.
Delete Item
Select Delete from the menu to remove the item from the category. The item is permanently removed from your storage records.
Search and Sort
Use the search bar to find items by name. Click the Name button to sort items by name or other criteria for easier browsing.
Item Details and History
When you click on an item, two tabs provide comprehensive information about it.
Details Tab
The Details tab shows all current item information: name, stock levels, pricing, custom attributes, and other metadata. View Transfer records showing when the item was moved between categories or locations, including date, time, reason, and location details. View Stock In records showing inventory additions with timestamps.
History Tab
The History tab displays a complete audit log of all changes made to the item. Track every transfer, stock adjustment, and modification with dates, times, and reasons. This provides full traceability of the item's movement and updates throughout your inventory system.
